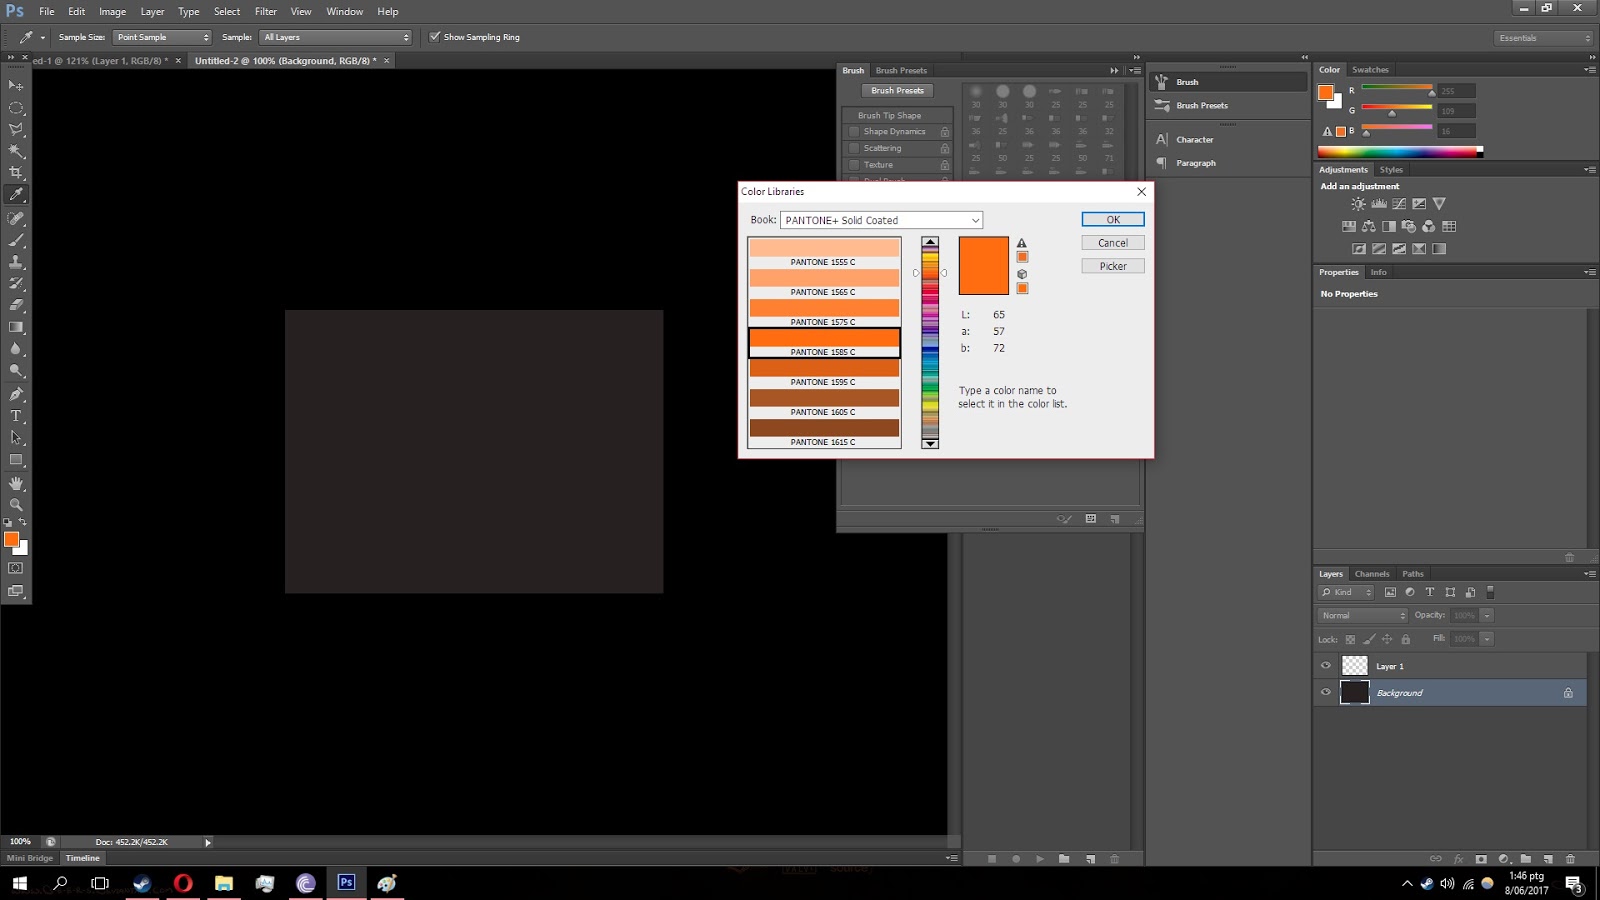
The first task of Basic Illustration class this semester is the introduction to creating 3D objects in Adobe Photoshop. The first step when it comes to making 3D objects in Photoshop is to establish what colours will be used in the composition. The colours need to cover the entire range of a colour's hue to properly picture the shadows and highlights of the object.
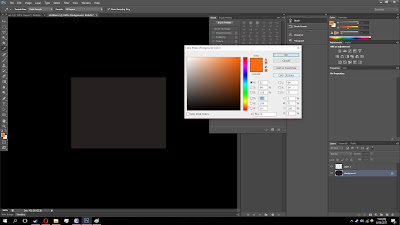 |
| Go to your colour selector for a nice selection of colours |
 |
| You'll want a large range of dark and bright colours to properly capture the shadows and highlights of the object |
 |
| You can add the colours you've selected to the composition for easy access |
Next, you'll want to draw out whatever 2D shape you want to turn into a 3D object. For this task, we've made a couple of circles. Using the colours we have, we'll shade and colour these two until we get one shiny ball and a planet-like object.
 |
| Making circles is easy with the ellipse tool |
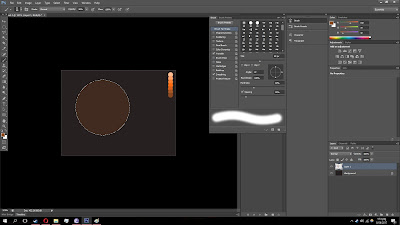 |
You'll want to slowly add colours on top of other colours,
like here where I layer the botom with the darkest shade first. |
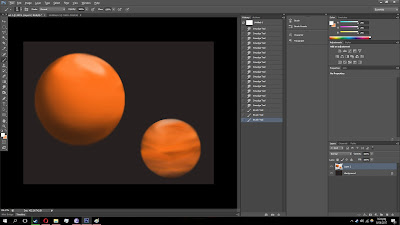 |
| And we're done! |
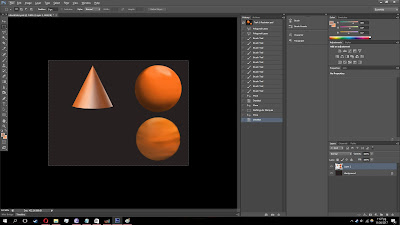
Another simple way to make 3D objects is to use the built in gradient tool. The gradient tool has presets for metallic textures, which when applied to a simple square give off a 3D look. From there, you can adjust the square into a different shape or change the colours around where you'd like.
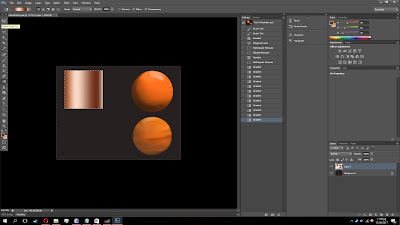 |
| Here's our gradient cube |
 |
| A bit of adjusting, and it's now a cone |
 |
Changing the colours and perspective a bit to fit more with what
we've already been doing. |
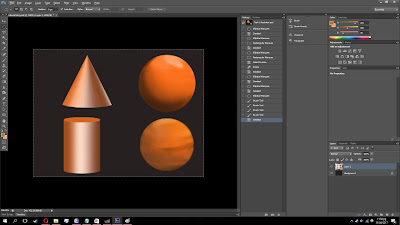 |
| Did the exact same thing to make this cylinder |
Finally, we'll also be texturing a freeform object. This is where the object is not a specific shape, but rather just an item with a shape. My freeform object is a crab claw, and I've done the same edits that I did to the balls to get a somewhat decent effect on them.
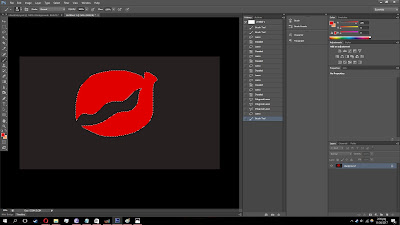 |
| The rough basic shape I made |
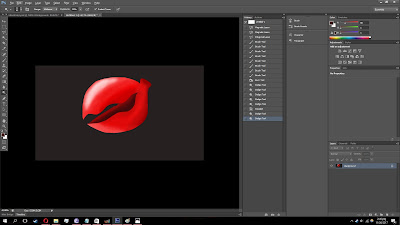 |
| Turned into a crab claw with some shading and highlights |
The final results are down below.


EmoticonEmoticon