The next task of Basic Illustration class this semester is to make the objects we made in the last task textured. This is when you overlay a texture file over the object to simulate the appearance of having a texture. First, we'll need our shapes from the last task.
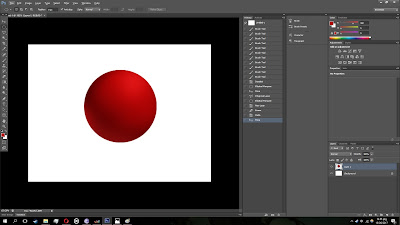 |
| Simple Spherical Shape |
Next, you'll want to grab a texture file. You can make these yourself, or find them online.
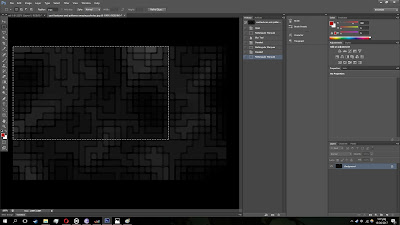 |
| Some sort of tile texture |
What you do next is copy the texture file and make it translucent. Once you're done with that, you can start layering the texture on to the object. To do this, use the warping tool in the transformation settings.
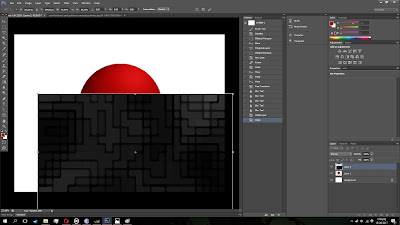 |
| Move it over the object, and warp it with the Warp tool |
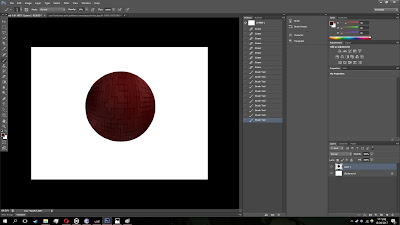 |
| What the result should look like |
It's not too tough, though you'll want to take your time to get it right. I've made another example, just for the heck of it.
 |
| Basic shape |
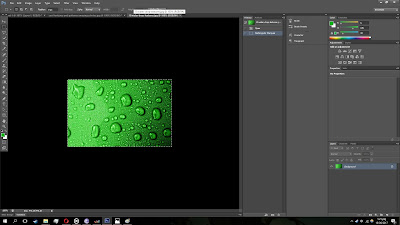 |
| Get your texture |
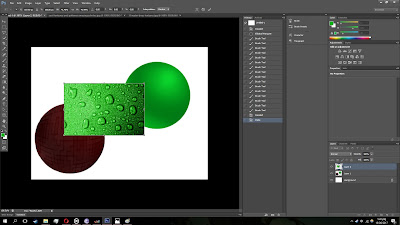 |
| Move your texture to the object file |
 |
| Make it translucent |
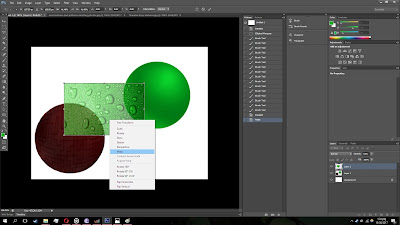 |
| Warp it |
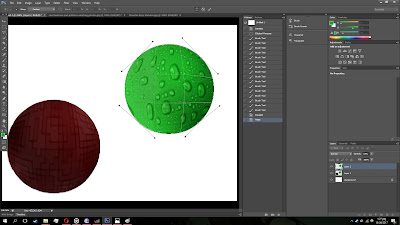 |
| Make all the small adjustments needed |
 |
| And you're done |
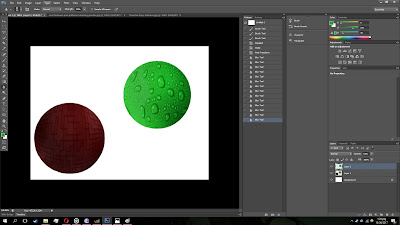
Now, what we'll do is layer a texture on last week's freeform crab claw. The method is exactly the same, though warping the texture is a bit more complicated. The texture I'm using for the crab claw here is a crab shell texture, nothing too surprising.
As you can see, we're done. Below you can see the results of today's tasks. That'll be all for now, we'll be back for the next task soon enough.


EmoticonEmoticon